Creating Custom Stickers from PNG Images#
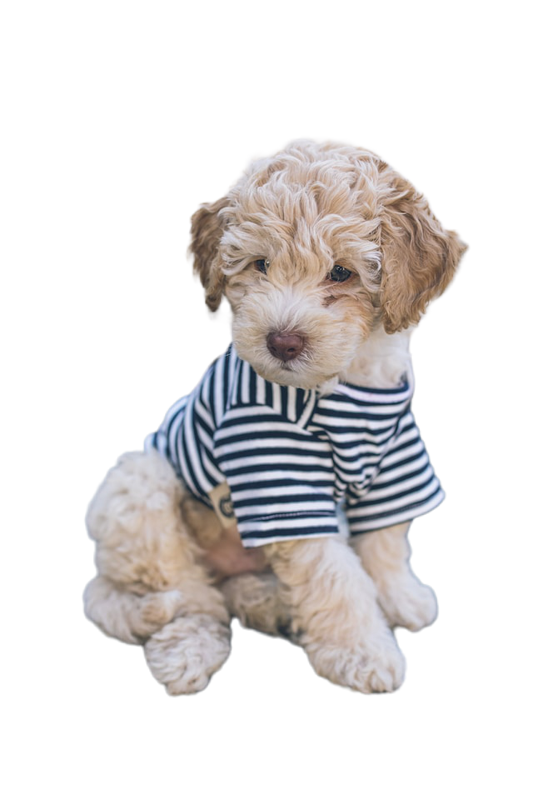
Creating a custom sticker from an image, especially a PNG image, can be an exciting task. In this tutorial, we will guide you through a step-by-step approach to create stickers from PNG images using Python and OpenCV.
Prerequisites#
Make sure you have the following libraries installed:
- OpenCV (cv2)
- NumPy
- Pillow (PIL)
Installation Command
Install required Python packages using pip
1pip install opencv-python numpy pillow1. Reading the Image#
we will start by reading a PNG image and converting it into the RGBA color space to include the alpha channel.
Image Reading Function
Function to read and convert image to RGBA
1def read_image(img_path):
2    img = cv2.imread(img_path, cv2.IMREAD_UNCHANGED)
3    return cv2.cvtColor(img, cv2.COLOR_BGRA2RGBA)
2. Extracting Alpha Channel#
The alpha channel is responsible for transparency in an image. we will extract this channel for further processing.
Alpha Channel Extraction
Function to extract the alpha channel
1def extract_alpha_channel(img):
2    return img[:, :, 3]
3. Finding the Largest Contour#
we will find the largest contour in the alpha channel, and then apply GaussianBlur to smooth it.
Contour Detection
Function to find and smooth the largest contour
1def get_largest_contour(alpha_channel):
2    # Smoothing using GaussianBlur
3    smoothed = cv2.GaussianBlur(alpha_channel, (15, 15), 0)
4    contours_smoothed = cv2.findContours(smoothed, cv2.RETR_EXTERNAL, cv2.CHAIN_APPROX_SIMPLE)
5    contours_smoothed = contours_smoothed[0] if len(contours_smoothed) == 2 else contours_smoothed[1]
6    big_contour_smoothed = max(contours_smoothed, key=cv2.contourArea)
7
8    # Use the smoothed contour
9    peri = cv2.arcLength(big_contour_smoothed, True)
10    return cv2.approxPolyDP(big_contour_smoothed, 0.001 * peri, True)
4. Drawing the Contour#
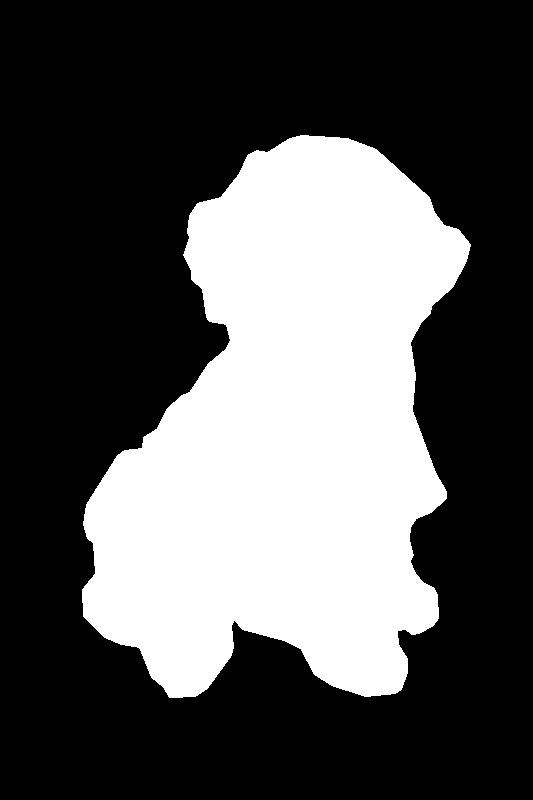
The contour is then drawn on a black background to create a mask.
Contour Drawing
Function to draw the contour on a black background
1def draw_filled_contour_on_black_background(big_contour, shape):
2    contour_img = np.zeros(shape)
3    cv2.drawContours(contour_img, [big_contour], 0, 255, -1)
4    return contour_img
5. Applying Dilation#
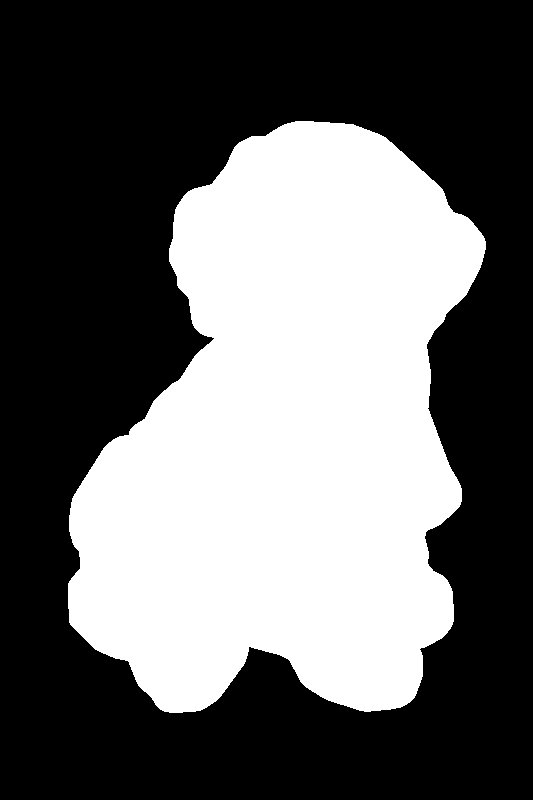
we will apply dilation to enlarge the white region in the mask, creating a smooth border around the image.
Dilation Application
Function to apply morphological dilation
1def apply_dilation(img):
2    kernel = cv2.getStructuringElement(cv2.MORPH_ELLIPSE, (30, 30))
3    return cv2.morphologyEx(img, cv2.MORPH_DILATE, kernel)
6. Applying Overlays#
The mask is then overlaid onto the original image, and the alpha channel is applied to merge them together.
Overlay Application
Function to apply mask overlays and merge with original image
1def apply_overlays(canvas, img, dilate):
2    alpha = np.expand_dims(img[:, :, 3], 2)
3    alpha = np.repeat(alpha, 3, 2)
4    alpha = alpha / 255
5
6    canvas[dilate == 255] = (255, 255, 255, 255)
7    canvas[:, :, 0:3] = canvas[:, :, 0:3] * (1 - alpha) + alpha * img[:, :, 0:3]
8
9    return canvas
7. Creating the Sticker#
we will combine all the previous steps to create the final sticker. This function brings together all the operations we have covered to generate a complete sticker with a clean border and preserved transparency.
Complete Sticker Creation
Main function that combines all steps to create the final sticker
1def create_sticker(img):
2    alpha = extract_alpha_channel(img)
3    big_contour = get_largest_contour(alpha)
4    contour_img = draw_filled_contour_on_black_background(big_contour, alpha.shape)
5    dilate = apply_dilation(contour_img)
6
7    canvas = np.zeros(img.shape, dtype=np.uint8)
8    canvas = apply_overlays(canvas, img, dilate)
9
10    return canvas.astype(np.uint8)
Final Result#
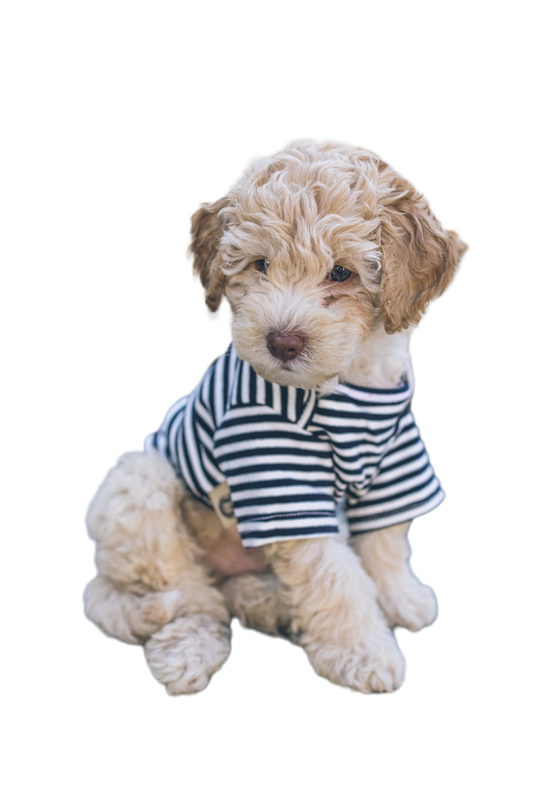
After applying all these steps, you will get a beautiful sticker with a clean border and preserved transparency.
